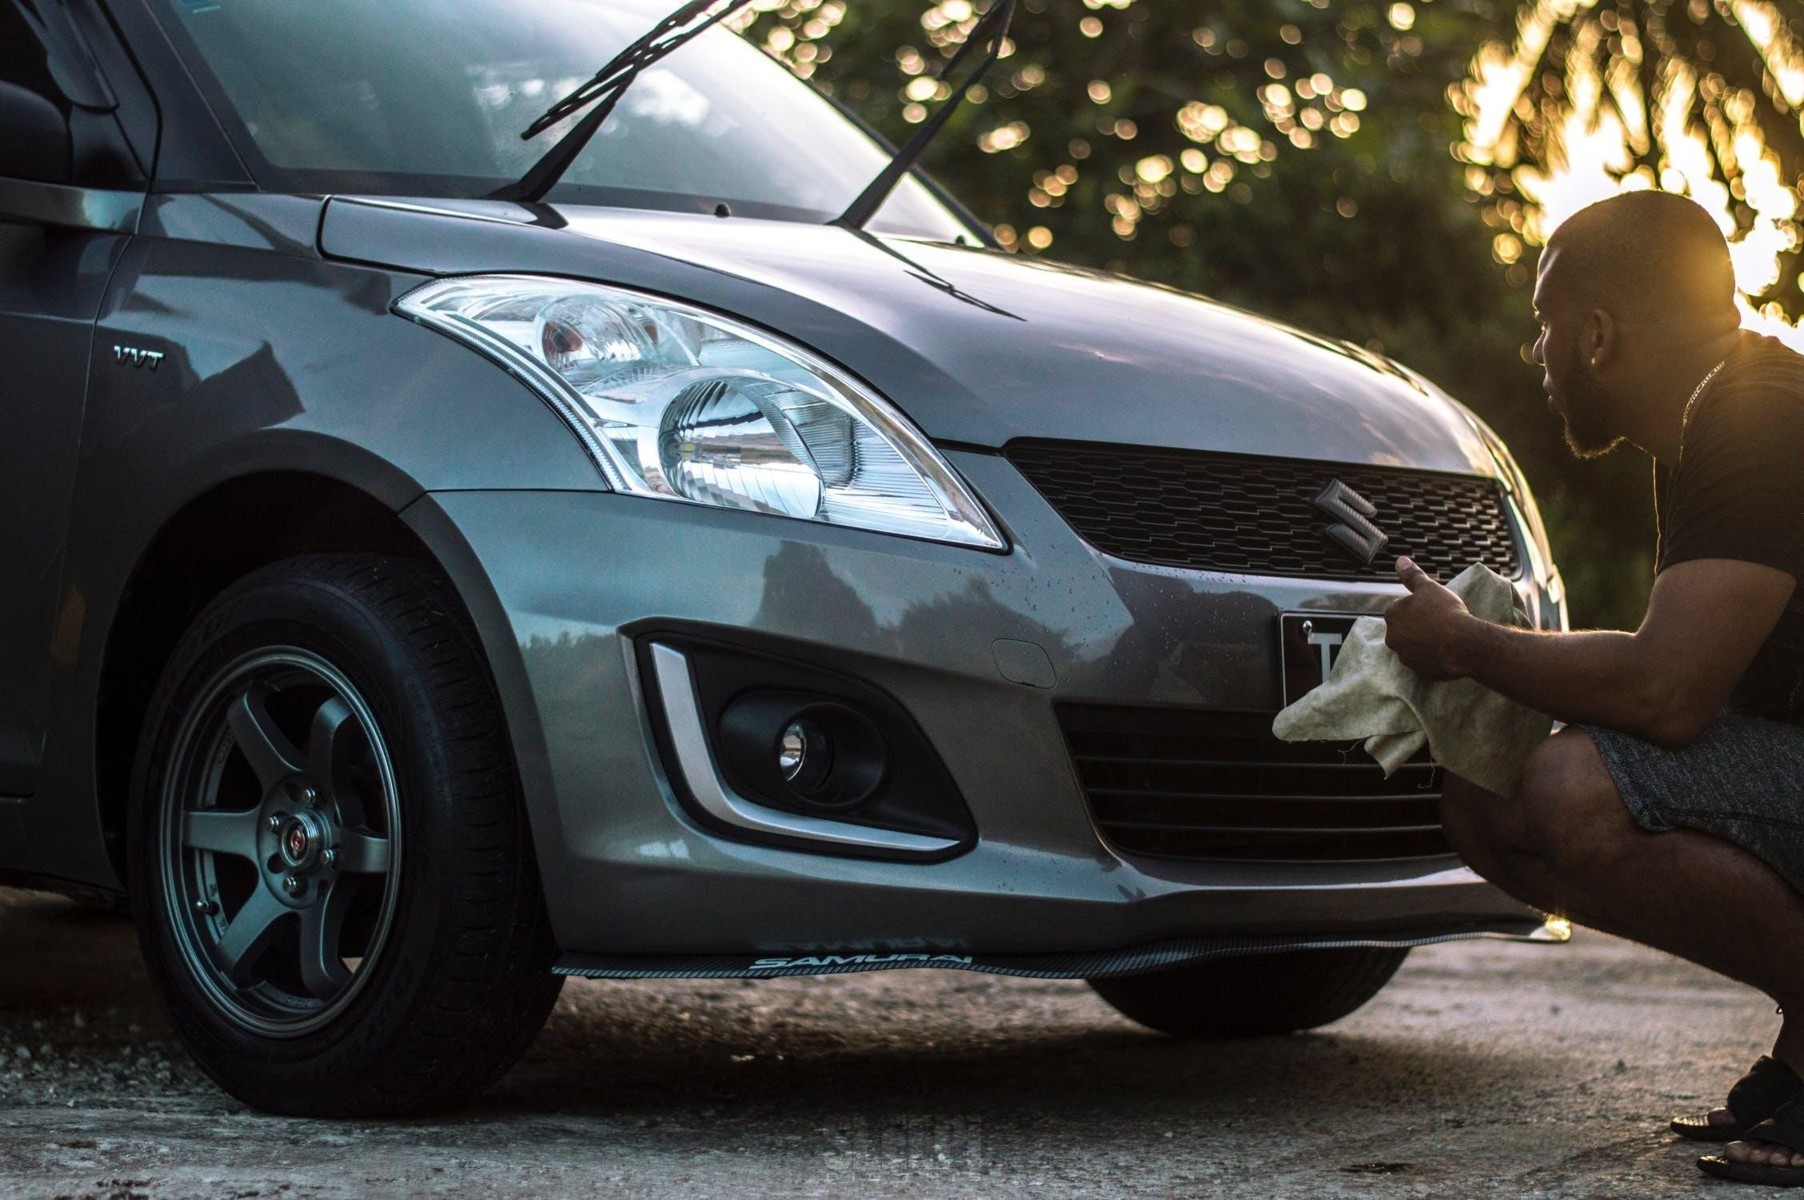
Do Headlight Restoration Kits Work?
Headlight restoration is just that — reviving your aging headlights back to its original youthful condition, or as close to it as you can possibly get. If done right, it’s not a fool’s errand, but make sure it’s included securely on your to-do list.
No matter how amazing your vehicle and how far you travel, your headlights will eventually go downhill. For that you can thank excessive exposure to extreme weather, UV light and toxic chemicals in the air. And don’t forget about all those bugs that can’t get out of your way. They’re not going to remove themselves.
That modern-age-miracle hard coat that protects your lights against bad stuff is cursed to break down with time; if left untreated, those lights will dim and dull. General weakness will also bring on the surface cracks and tears.
Bottom line: headlight restoration helps to extend the life of your lights, and keep them in good health.
It’s not just about looking good, either. Fifty percent of vehicle crashes occur at night, according to AAA. In fact, research shows that headlights in poor condition can reduce the amount of light output by almost 80 percent compared to brand-new lenses.
Here’s the science of it: with time, oxidation clouds over your once-brilliant light, creating a haze that can reduce your headlights’ illumination power and bring on all kinds of safety hazards. Adding to the problem is that this kind of hazing can evolve slowly, over time, making the increasing danger hardly noticeable.
Combat nature by buying a headlight restoration kit. But which one? Not all kits are created equal, but the way to use them is often very similar.
First, know what you need in a DIY kit (not all of them have all of these components):
- Lubricant
- Spray compound
- Sanding pads
- Polishing pads
- Sanders
- Wipes for the lenses.
- Make sure to note if a sanding or polishing drill is required. Some applications require tools; others are designed to be worked by hand. It all depends on how ambitious you are.
Before considering a headlight restoration kit, consider this:
- Most restoration kits require at least several steps.
You could spend about an hour or more restoring existing headlight lenses, which includes sanding, polishing and coating the lenses. Results can vary, despite your most valiant efforts.
- Some restoration kits require bells and whistles.
It’s not just a matter of “set it and forget it.” Some kits require tools, like an electric drill and/or sanding discs. The risk you run: scratching paint and disrupting trim, thereby adding to your restoration bill for touch ups.
Common headlight restoration kits on the market
The offering of DIY headlight restoration kits are more than plenty. Many come from names you know and trust, including Sylvania, 3M, Turtle Wax, and Rust-Oleum. They’ll offer a sanding and polishing options with varying levels of grit, from coarse to fine. It’s a matter of preference.
No matter which kit you choose, resolve yourself to knowing that headlight restoration is never permanent. The kit will have to be reapplied again, perhaps in a year or if you are noticing yellowing and oxidation on your headlights sooner than that.
Tips for making your choice
- Manufacturers usually offer YouTube instructional videos. It may help to watch them first.
- If your lenses are clear and strong, you may not need to buy a headlight restoration In fact, using a kit on a somewhat healthy headlight could lead to unnecessary abrasion and damage.
- If your lights are dim but your lenses are clear, you may need new bulbs, not a headlight restoration. If you can’t tell, take it to a professional.
- Be sure to have microfiber rags on hand, especially if you are not using any electronics. If the kit doesn’t include them, you can pick them up at almost any discount store for next to nothing.
- Get ready to buff. Almost all of these products require thorough buffing. Trust that if you don’t want to leave any residue, you’ll be buffing.
- Don’t plan to use the vehicle for at least an hour or more after the procedure is finished. You need time to allow your good work to dry and take hold.
How long do the results of a headlight restoration kit last?
The very general rule is between 1-3 years. This, of course depends on many factors, including:
- Lens type
- Sealant type
- Weather and environmental conditions
- Quality of maintenance performed on your car.
Alternative to DIY: a professional restoration
Professional headlight restoration services do exist and are eager to take your money, which could be anywhere from $100 to $250. That may not be so bad when you consider that completely replacing your headlights could be way more expensive. Many professionals make it a point to get your headlights as close to its original condition as possible, applying a clear protective coat to the plastic lens to guard against UV exposure.
Bottom line, whatever choice you make: opt for the headlight restoration. Look better and drive safer.
Find out more at Headlights Depot.
Meta description: Headlight restoration extends the life of your lights, and keeps them in good condition.


