


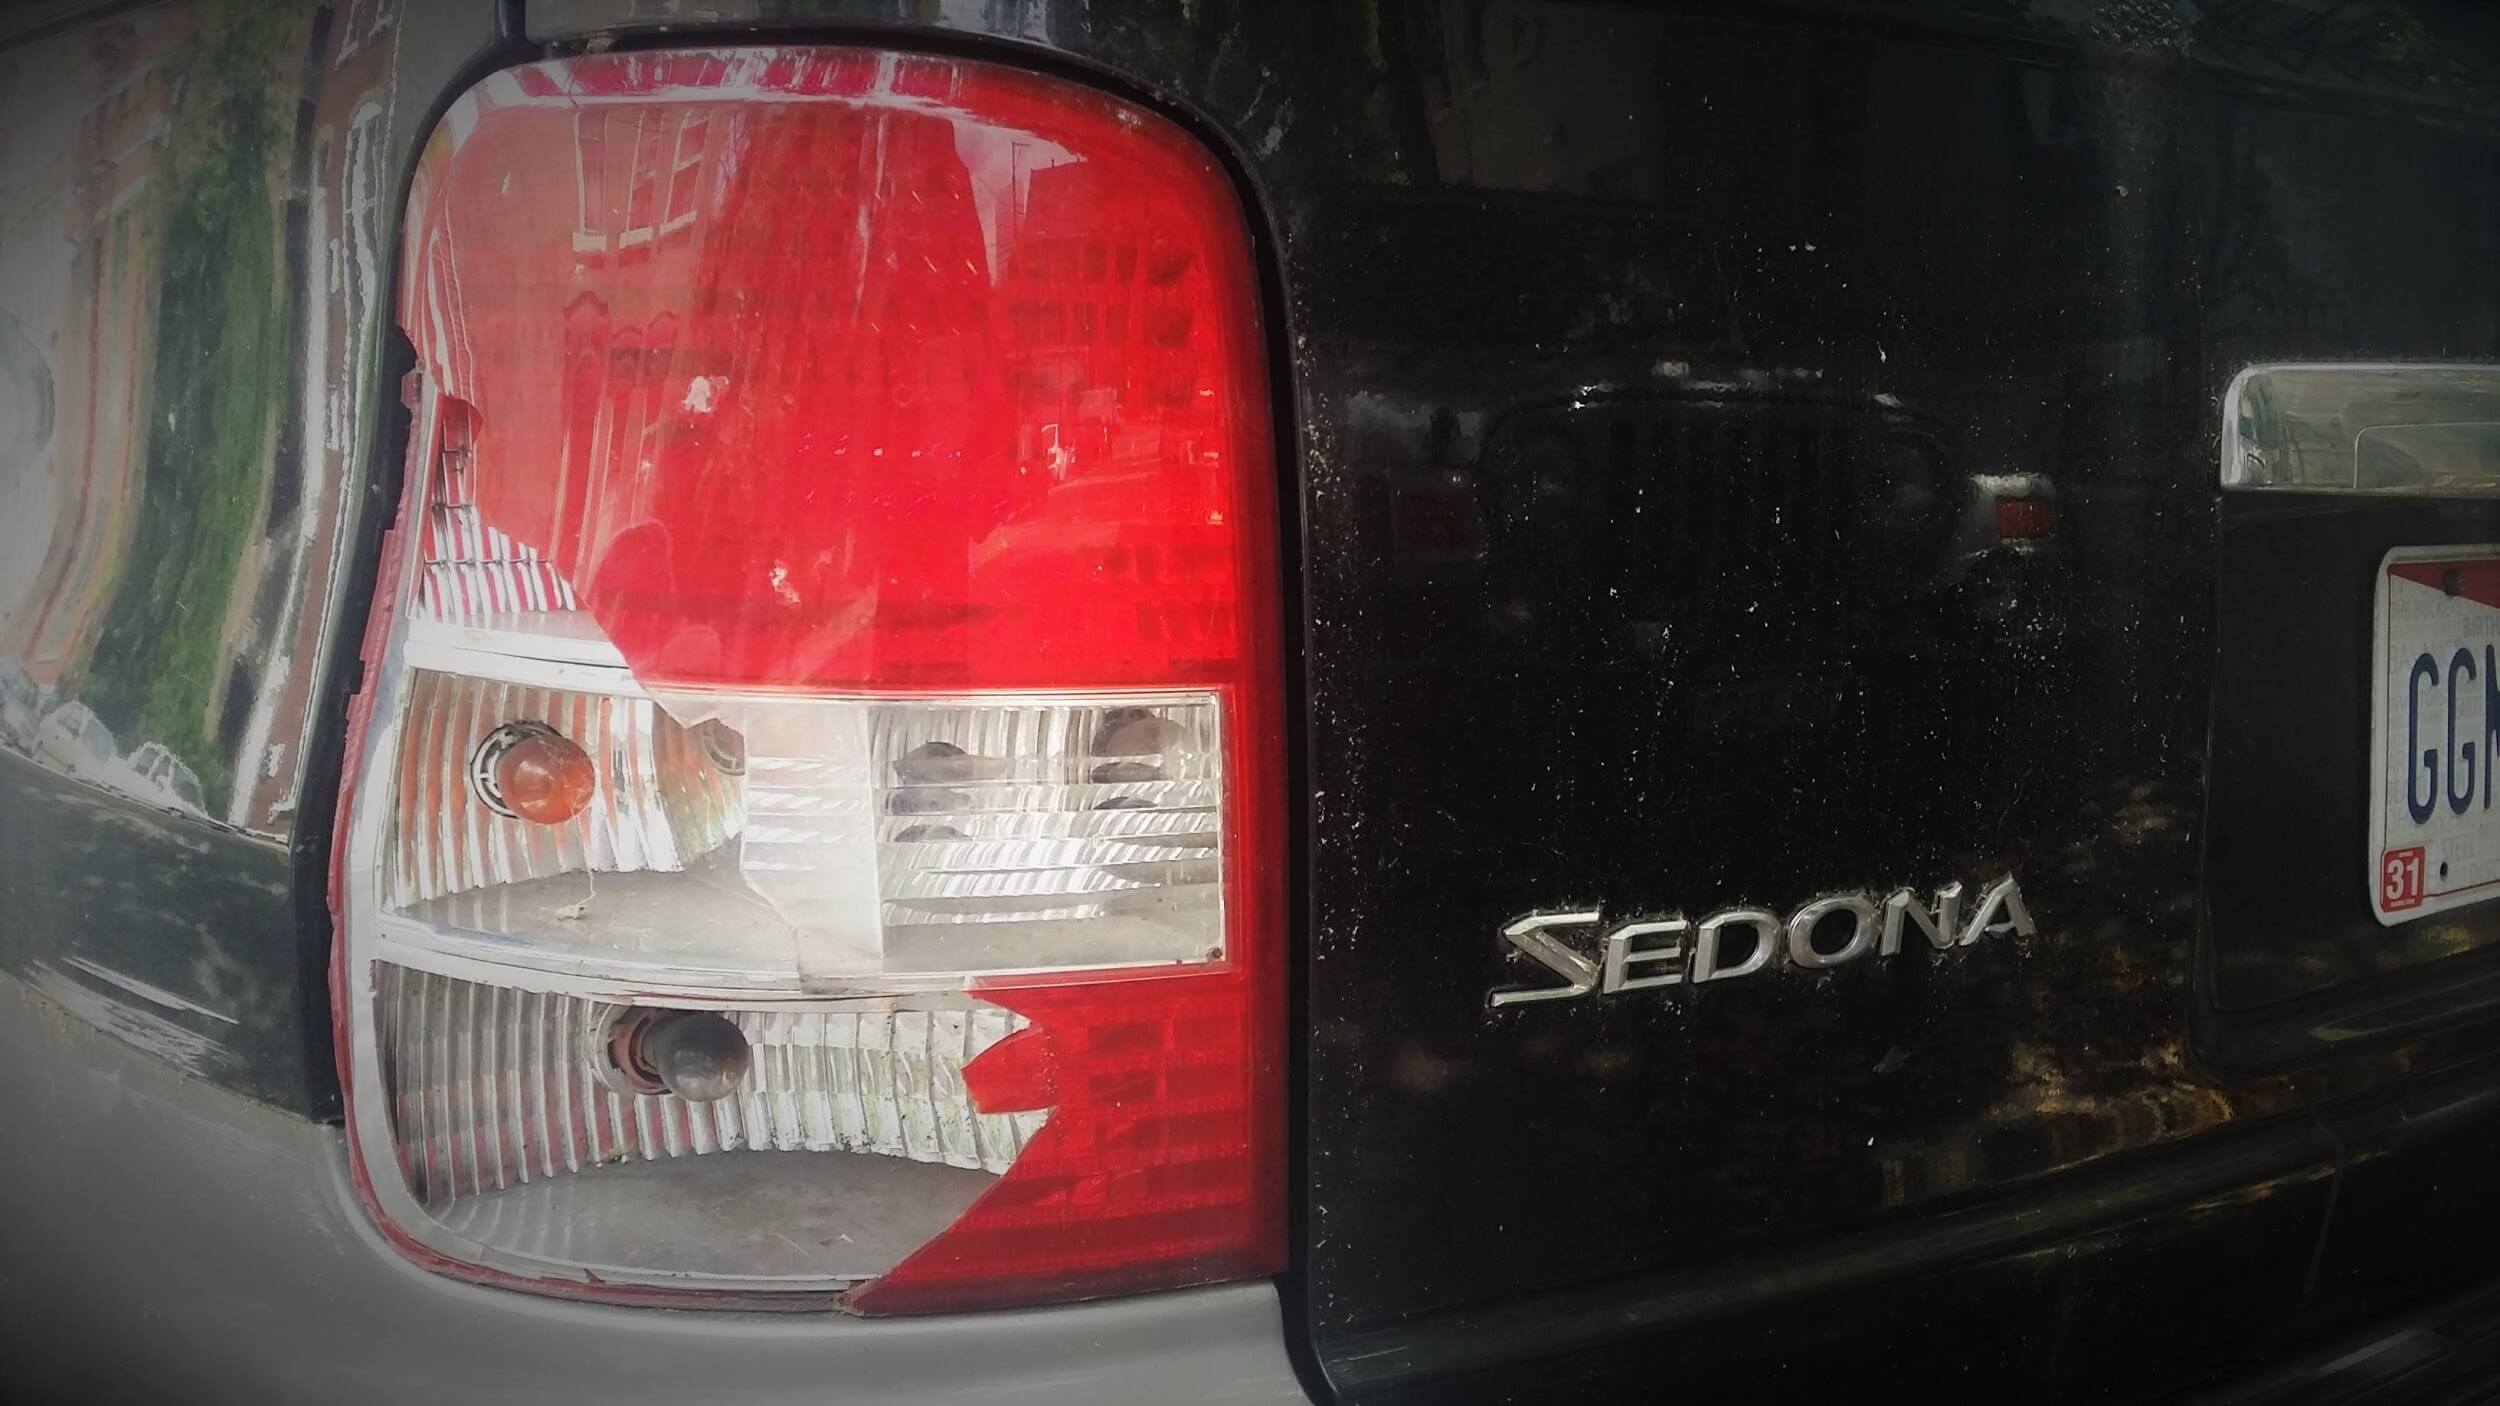
Coming across a broken headlight or tail light is one of the worst feelings while on the road or when returning to your car in a busy parking lot. You notice something doesn’t look right on your car, and then you see crushed plastic on the floor below your rear or front end. You’re angry, and most of all dreading the repair costs.
Upon discovering a broken headlight or tail light, one must realize that it isn’t the end of the world, unless you drive a new Tesla or Porsche. All jokes aside, finding new headlight and tail light replacements online in today’s climate is super-easy and affordable.
Even if your brand new 2020 luxury sports car has a burnt-out bulb or crushed headlight housing due to a negligent driver or a careless shopper shoving their shopping cart through the parking lot; there are ways to handle a broken headlight before or while waiting for a replacement. Here’s what we suggest you do.
Photograph the accident and contact your insurance company.
Documenting the scene of a parking lot accident for insurance purposes is essential. If nobody is injured during the accident, proceed to take photos of the accident, and depending on your relationship with your provider, contact them immediately, or when you get home to your computer.
Clean up the area
First things first. Clean up whatever is left behind. Even if it wasn’t you who caused the mess, broken shards from headlights or tail lights can hurt others who may step in it. Especially if they’re wearing sandals. Be courteous to pedestrians and clean up major debris.
Purchase red or clear tape
Your bulbs are exposed and you live in an environment of unpredictable weather. If you’re on the road, one option is to pull into your local hardware store or auto shop and find red or clear tape to cover the gaping crushed hole of your headlight housing.
Match red tape to the brake lights, clear for your headlights, and yellow for your blinkers. Be sure the bulbs for your brake lights and blinkers are functioning before applying the tape. If your light bulbs are out, order new ones as soon as possible and double-check the fuses.
The longer you cruise around with damaged lights, the higher at-risk you are for having an accident or taking home a traffic ticket. Find an array of LED or halogen bulbs online and pair the correct fit or your car’s make, year, and model.
Order new headlight parts
The worst thing a driver could do is prolong repair for a broken headlight or tail light. Failing to do so within a few weeks to a month can add extensive damage to your car’s electronic and interior components. Explore the many stock and aftermarket headlights and find an array of affordable auto parts. Once you receive your replacements, install the damaged headlight yourself from the comfort of your garage.
Install parts yourself or hire a professional mechanic
If you’ve recently endured a car accident or a major fender bender that resulted in a broken light, having a professional mechanic repair the area behind the headlight or rear end is smart because if there is frame or body damage, the housing component may not fit. However, if only your headlight or tail light was damaged, replacing a housing unit is fairly simple, even if you’ve never worked on your car before.
With the mass amounts of DIY knowledge on the internet, you can find information on replacing your specific car’s headlights. Here are some helpful tips for replacing your headlights.
- Remember to work patiently and orderly so you don’t skip any essential steps.
- Keep all of the same screws and components together throughout disassembly and assembly. Having to search for misplaced pieces can drive you insane, and if you lose an essential component, it may lead to the entire downfall of the project. Or at least restarting the entire replacement process.
- Once you’ve unscrewed the headlight housing, disconnect the harnessing attachments and remove the entire housing unit.
- The replacement headlamp is just as easy to install as it is to connect. Once you have all the essential parts and bulbs laid out with the instructions, begin assembly.
How to avoid damaging headlights and tail lights
Nothing is predictable when it comes to minor accidents around your car. If you love your car or SUV and wish to reduce the risk of a shopping cart or vehicle collision with your headlights or tail lights, give your car some distance between others when leaving it in the parking lot. There’s less pedestrian traffic when choosing the far side of the parking lot.
Inspect your headlights and tail lights often. You don’t have to daily or weekly, but even a quick look to see if there are any chips or major cracks before entering your car is wise from time to time. Also, don’t forget to test your bulb brightness and functionality routinely to avoid a traffic ticket! Stay ready and check out online headlight products to find the right for your vehicle.


“However, if only your headlight or taillight was damaged, replacing a housing unit is fairly simple, even if you’ve never worked on your car before.” This is sometimes true, sometimes not. Replacing headlights becomes non-trivial if one has to disassemble or remove the whole front of the car.
I can imagine ho discouraging it would be to come to find broken headlights, or taillights. It is unfortunate that situations are unpredictable. these are some great tips that i will keep in mind for future for sure.
Great points. I would also recommend looking up how to replace the headlight or tail light before purchasing. You may expect it to be an easy DIY project only to find out later that it is a bigger job than expected. While a lot of headlight removals are quite simple, others may involve practically taking apart the full front of the vehicle. Also, finding out how much a shop may charge before purchasing is worth it to give you an idea of the full cost of the job while comparing headlight prices.
Its so easy to take a second out of your day to walk around your vehicle and check the headlights when you enter or exit. It can save a lot of money to tackle an issue when it first arrises.
Keep some clear tape in your vehicle at all times along with some zip ties. If something breaks or comes loose while you are driving, then you can secure the component to the vehicle. Also, securing the loose or broken component will prevent further damage. Just remember the last time you saw someones bumper dragging on the ground or tail light hanging from the wiring. The least you could do is zip tie or tape them into place before you fix them.
Taillights are going to be the easier to replace, compared to headlights. Most headlight replacement requires removal of the bumper cover or grill. Taillights will only require the removal of inside trunk pieces.
In most cases, headlight and taillight installation is a DIY project. Most are very easy to change, but some do require a bit more knowledge you may have to remove your bumper.
When you replace your headlight or tail light your self, make sure not to lay your new light lens down on the road. Many people accidentally scratch the lense of their new headlight or tail light with this simple oversight. Place the light lens facing up on a piece of cardboard. 🙂
Don’t wait to long to replace it. You should immediately check the extent of the damage and make sure it’s nothing more that needs to be replaced.