


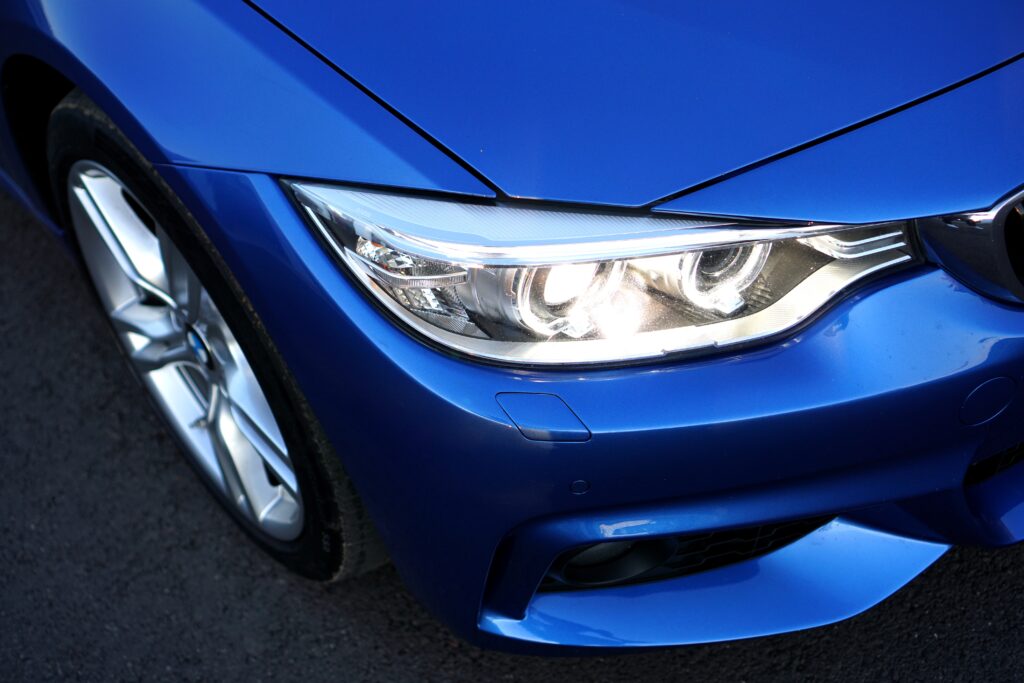
Although we’d love it if our car parts lasted the duration of ownership, the reality is a repair will be needed from time to time. In some cases, the repair is simple enough that you can tackle the job yourself. And if all goes well, you’ll end up saving a lot of money in return. These practical DIY repairs span from changing a car battery to replacing windshield wiper blades. That said, for today’s feature, we’ll direct our attention to one of the most important components of a vehicle: the headlights! Here we’ll outline the step-by-step process to fixing a dim headlight on your vehicle and safely restoring it back to new.
Required tools & materials:
In order to perform this DIY task properly, you’ll need a few things at your disposal to begin. The necessary tools and materials include:
- Adjustable wrench
- Wire brush
- Dielectric grease
It’s best to have these items easily accessible to make the process simple and seamless, even if you’ve done this kind of DIY work a handful of times. If you don’t have these items stored away in your garage, you can conveniently find them at your local auto shop or online retailer.


5 steps to repairing a dim headlight
Are your vehicle’s headlights starting to resemble a fading flashlight? Chances are you’re desperately in need of a repair. However, before you can get your hands dirty, you’ll have to do some investigating to see what the root of the problem is. While drivers often attribute a fading light to a bad connection in the power feed, many times it’s actually due to corroded wiring. Over time, exposure to the elements and overheating can cause this wiring to corrode more quickly. Luckily, all it takes is a little dissembling and the right materials to restore the brightness.
1. Dissemble the dim headlight.
2. Trace the wiring harness from the back of each headlight to locate the corroded areas.
3. Grab the wire brush and clean the ground cable connection.
4. Apply dielectric grease to prevent future corrosion.
5. Safely resemble the headlight and check the brightness.
A five-step process sounds fairly simple, right? Well, we recognize it’s not always just a matter of cleaning. If the ground cable is no longer “hot”, you could need some new cables as well. In these cases, just reading the steps out loud are not nearly enough for non-auto enthusiasts. To help bring the process to life, take a moment to watch the video below:

Other causes of a dim headlight
One of the most common contributors to dull headlights is aging filaments. While most LED bulbs last up to 40,000 hours before requiring a replacement, several factors can impact the lifespan of your headlights. In addition, some headlight bulb are less durable than others. For instance, halogen bulbs only last 450 to 1,000 hours, which lends to greater upkeep and a higher odds of needing replacements. Regardless of which type of headlights you have, take notice of any fading illumination as well as the appearance of your lights. A yellowish and cloudy film is another good indicator that your headlamps need some TLC.
Overview
As headlight enthusiasts, there’s nothing we value more than quality headlamps. Though a headlight repair may seem daunting at first, the process is actually rather straightforward if you have the right tools and materials at hand. We hope this guide gave you better insights into the initial steps of addressing a dim headlight repair. To learn more about headlight upkeep and other practical DIY task, read our guide on Vehicle Headlight Care for Beginners.