
Restoring Headlights for Improved Safety and Aesthetics
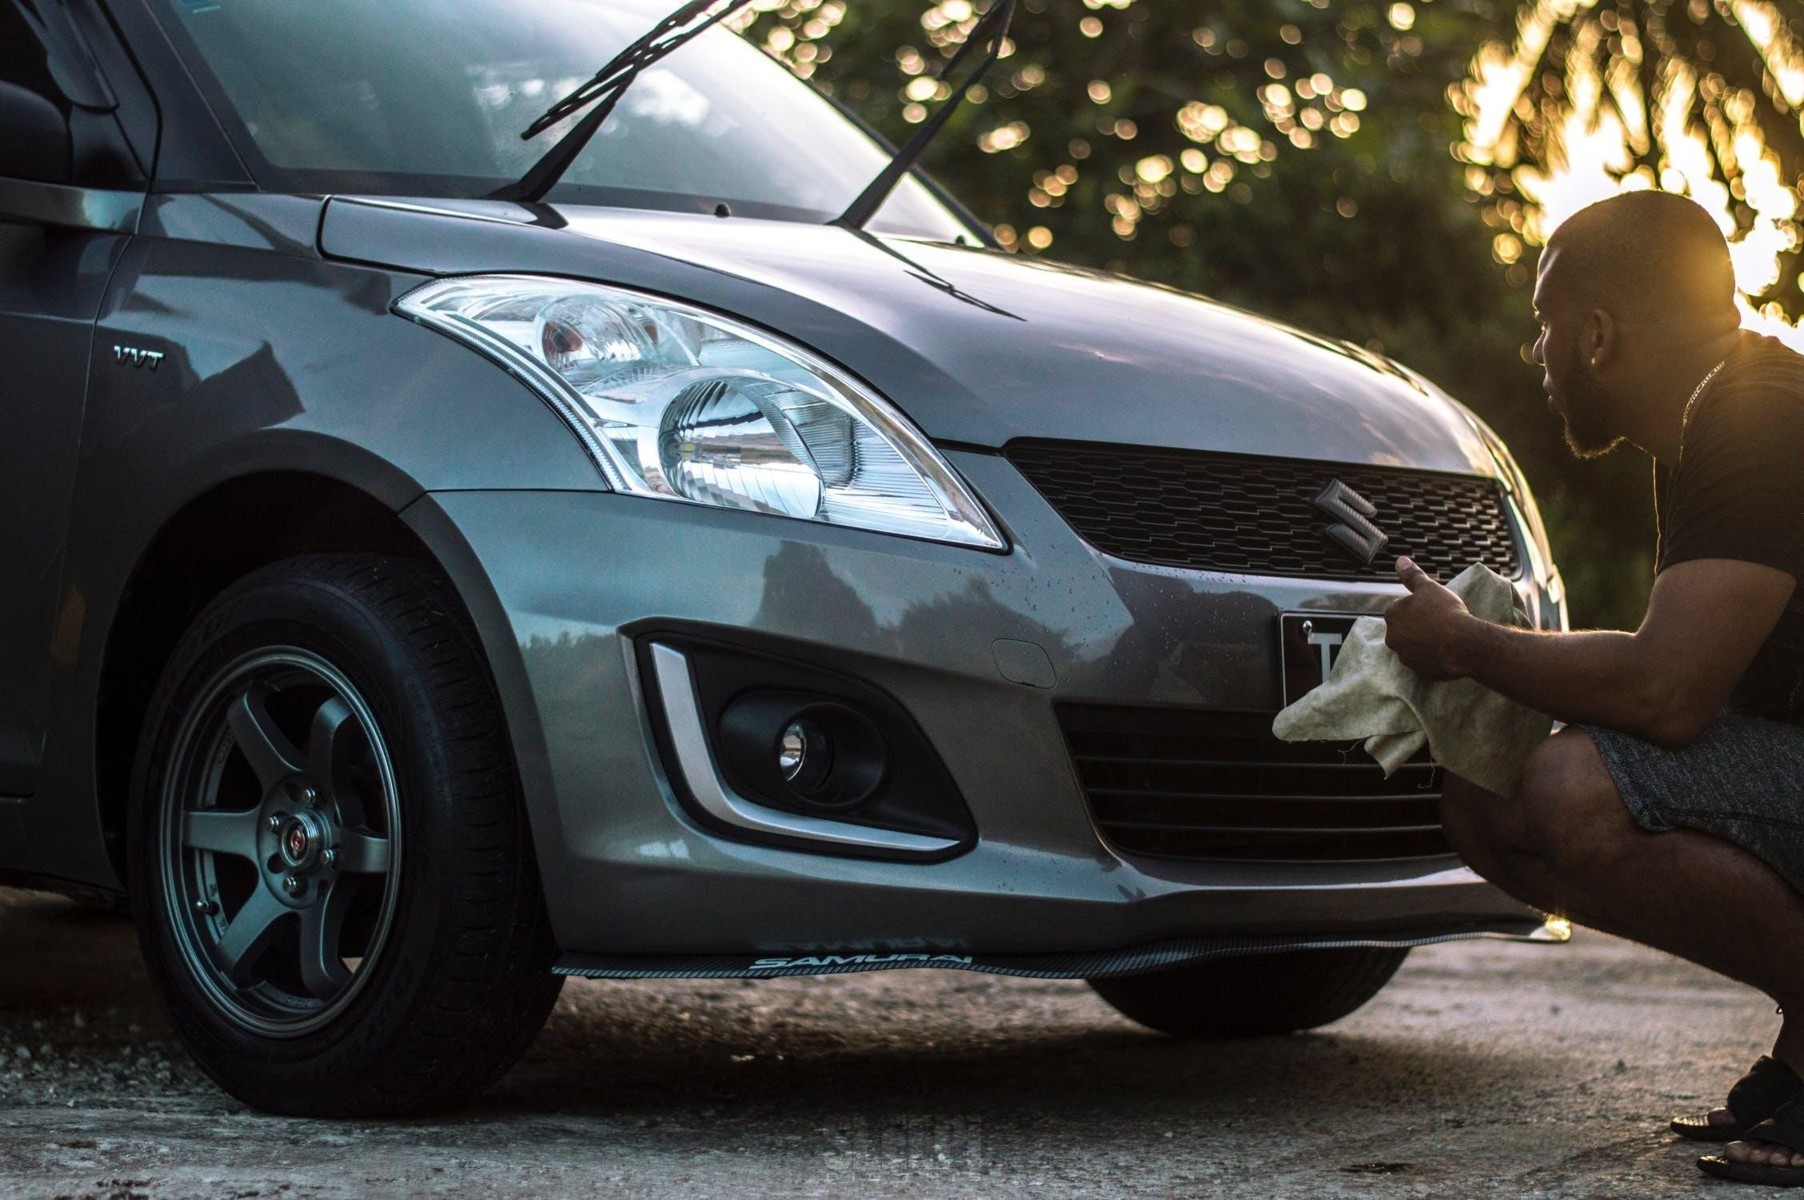
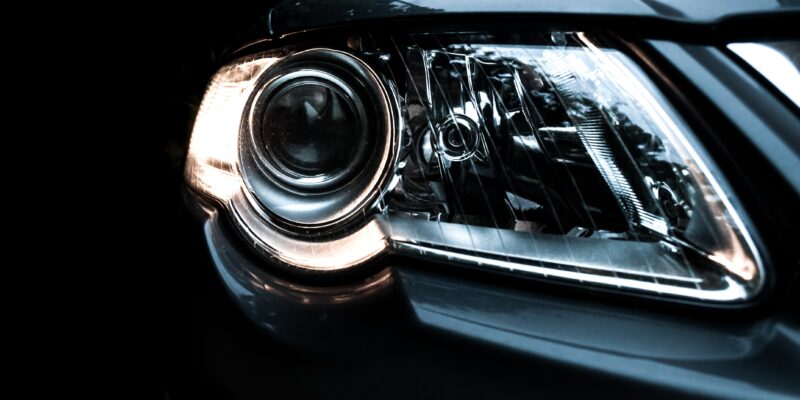
Headlights are an essential safety feature on any vehicle, providing visibility during nighttime driving, inclement weather, and foggy conditions. However, over time, the plastic lenses of headlights can become cloudy, hazy, or discolored, which not only diminishes their effectiveness but also detracts from the overall aesthetics of the vehicle. Thankfully, restoring headlights is a relatively simple and cost-effective process that can significantly enhance your driving safety and the appearance of your car.
In this article, we’ll provide you with an updated step-by-step guide on how to restore your headlights to their former clarity and brightness.
Materials You’ll Need
Before starting the restoration process, gather the following materials:
- Headlight restoration kit: You can purchase a kit at an auto parts store or online. These kits typically include sandpaper, polishing compounds, and a sealant.
- Masking tape: To protect the surrounding paint and surfaces from damage.
- Clean microfiber cloths: For wiping and buffing.
- A spray bottle with water: To keep the surface wet during sanding.
- A drill with a polishing attachment: To apply the polishing compound effectively.
- Safety gear: Wear gloves and eye protection.
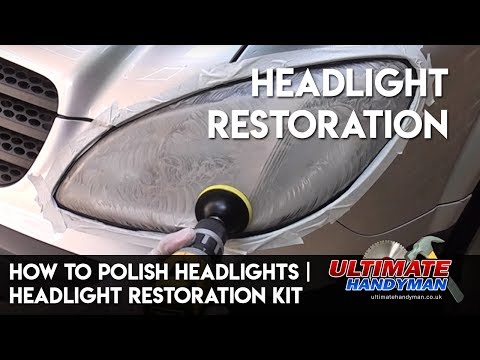
Step-by-Step Headlight Restoration Process
-
Prepare your workspace:
- Park your vehicle in a well-lit and well-ventilated area.
- Ensure the headlights are cool to the touch.
- Clean the headlights with a mild soap and water to remove surface dirt and debris.
-
Masking:
- Use masking tape to protect the surrounding paint and surfaces. Cover the areas around the headlights carefully to avoid any accidental damage.
-
Sanding:
- Start with the coarsest sandpaper provided in the kit (usually around 800-1000 grit).
- Wet the headlight’s surface and the sandpaper.
- Sand the headlight lens in a horizontal and then vertical motion, keeping the surface wet at all times.
- Gradually switch to finer sandpaper (1500-2000 grit) to remove deeper scratches and haziness.
- Continue wet sanding until the headlight surface appears uniform and dull. This step is essential to remove the outer layer of oxidized plastic.
-
Polishing:
- Attach the polishing pad to your drill.
- Apply a small amount of the polishing compound from the kit to the headlight lens.
- Turn on the drill at a low speed and evenly spread the compound over the headlight’s surface.
- Increase the drill speed and work the compound in a circular motion for 3-5 minutes, or until the lens becomes clear and glossy.
-
Final polishing and sealing:
- Wipe off the remaining compound with a clean microfiber cloth.
- Apply the sealant included in the kit to protect the headlight from future oxidation.
- Follow the manufacturer’s instructions for curing time.
-
Removal of masking tape:
- Carefully remove the masking tape.
-
Final touches:
- Inspect the headlights for any remaining imperfections and repeat the sanding and polishing steps if necessary.
- Clean and buff the headlights with a clean microfiber cloth.

See clearly, drive safely
Restoring your vehicle’s headlights not only enhances its appearance but also improves safety by providing better visibility at night and in adverse weather conditions. With the right materials and a little effort, you can restore cloudy and discolored headlights to their former glory.
Regular headlight maintenance can also prolong their lifespan and keep your vehicle looking sharp while ensuring your safety on the road. So, roll up your sleeves, follow the steps above, and enjoy the benefits of clear and bright headlights. If you’re not up for the challenge of restoring headlights yourself, visit Headlights Depot to find an array of new, quality-grade headlamps for your car!