
How to Jump Start Your Car
Are you stuck with a dead battery? Need a quick refresher on how to jump start your car? If so, this guide was designed for you! Grab the jumper cables. Find a reliable friend or family member with a car. And take a few minutes to scroll through our guide. Below we’ve detailed all the steps you need to know, including expert tips on how to revive your car in its exact time of need.
6 steps to jump start your car
If you’re feeling unlucky right about now, don’t feel alone. There are approximately 100 million car batteries that need replacing each year. And sometimes, it’s just a matter of chance. Your battery could die on a rare occurrence that would make for an instant day ruiner. In any case, it’s worth knowing how to adapt to this common car problem. If you want to know how to jump start a car, the following 6 steps are intended to make your experience seamless. These quick and efficient tips will have you back in business in no time!
1. Where to park
Once you find a person to assist you in jumpstarting of your battery, it’s important to park the vehicles close to one another. You can have the person park parallel to your vehicle. Another common method is have the engines facing one another. Whatever the preference, just make sure there is a close enough distance between your car and the one with the functioning battery. That way the jumper cables can reach without either vehicle touching.
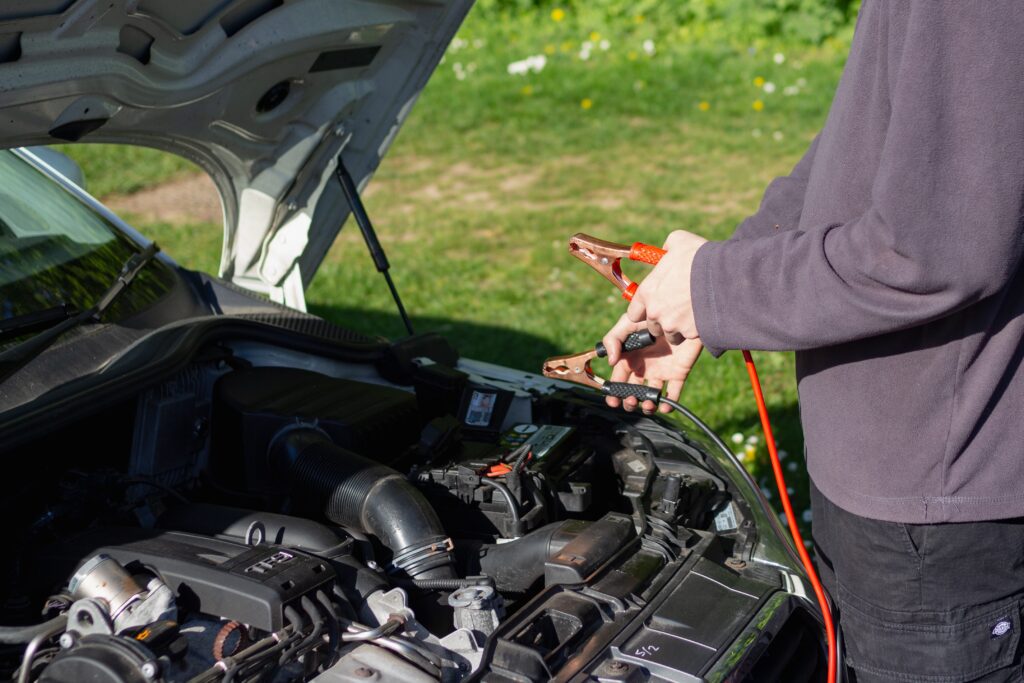
2. Prep work
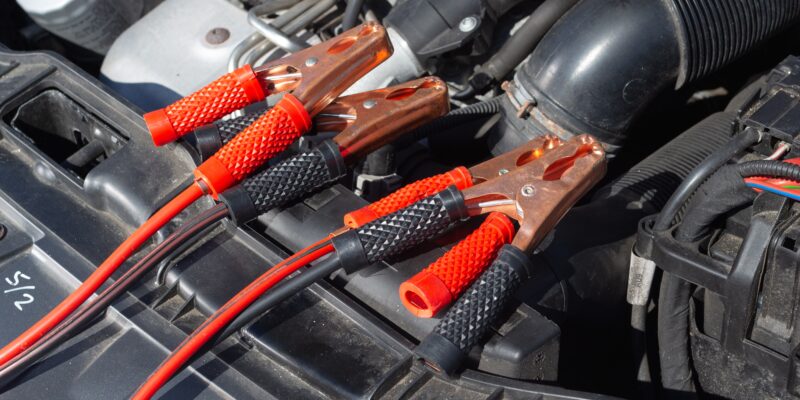
Pop open the hood and locate your car battery. Next you’ll want to untangle the jumper cables and get everything sorted out before you begin the technical aspects of restarting your battery. Identify the two cables, typically red and black in color. The red cable is used for (+) charge terminal on your battery and the black cable is for the (-) charge terminal.
3. Attach the cables
This is the part where some drivers get nervous. But we promise, there’s nothing to fret over.
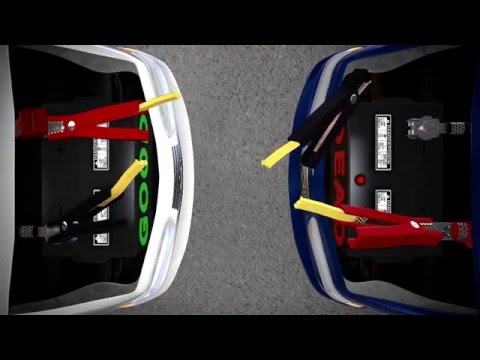
First, hook the red (+) clamp to the positive terminal of the dead battery (aka your vehicle). After that, you’ll need to attach the red (+) clamp to the positive terminal of the functioning battery. Now we’ll move on to the negatives. Take the black clamp and hook it onto the negative terminal of the working battery. Finally, take the opposing black (-) clamp and attach it to the metal surface of the dead car.
If you’re more of a visual person, we totally get it! Watch this brief clip to get a full understanding of where the jumper cables belong.
Expert tip: Familiarize yourself with the location of your car battery prior to this unwelcome scenario. Car batteries are usually located under the hood, but they will vary in size and location. Some are more complex to find, as seen in the GMC Arcadia.
4. Start those engines
Now that the jumper cables are in place, it’s time to start the engines. Begin the process by turning on the working vehicle. Give it a few seconds to juice up. Once that engine is up and running, start the dead car. If all goes properly, your car will turn on completely with the engine running.
5. Remove the cables
At this point, you’re ready to begin the cleanup process. To safely remove the jumper cables, you must detach them in the reverse order that you attached them. Therefore, you’ll remove the negatives first, then the positives. The process goes as followed:
- Remove the black (-) clamp from your battery then do the same on the opposing vehicle.
- Remove the red (+) clamp from the opposing vehicle then do the same on your battery.
It’s important to note that both engines should be continuously running at this point. There is no need to turn off the engines to remove the jumper cables. Unfortunately, this is often a rookie mistake that some drivers make.
6. Let ‘er run
With a revived engine under the hood, you’re ready to hit the road again. Great job! And you’ll have to admit, it wasn’t as daunting as it seemed. Whether you’re at home or at the office, it’s crucial to drive the restarted vehicle for at least 15-30 minutes after you jumpstart your car.
Expert tip: Never let your car sit idle. The best thing you can do after restarting your battery is taking it out for a spin. This will help get the electric juices flowing and recharge your battery back to its glory.
What if my battery won’t start?
On the off chance that your battery doesn’t start after completing the steps mentioned above, we recommend trying again. Make sure to repeat the process with accuracy and don’t rush through the steps. Check to see that your connections are properly attached. Each step, although seemingly easy, must be done correctly in order to bring your car back to life.
If the second attempt fails, there is a possibility your battery is too far gone. In that instance, you’ll need to contact emergency roadside services to get your car towed to a nearby auto body shop. We recommend AAA because they offer 24/7 tow truck and roadside assistance, but there are lots of options available. Once the mechanic assesses your dead battery, they’ll recommend options for a replacement.
Most car batteries last between three and five years, yet every vehicle is different. Factors like sun exposure, wear-and-tear, and corrosion can impact the health and longevity of your car battery.
Final thoughts on how to jump start your car
Overall, we hope this guide helps you get back up and running! Even though having your battery die is a major inconvenience, with the right tools and the help of a friend, you’ll be driving in no time.
For more expert tips and advice on car battery care, read our guide on How to Keep Your Car Battery from Dying.