

How Many Times Can You Buff Your Headlights
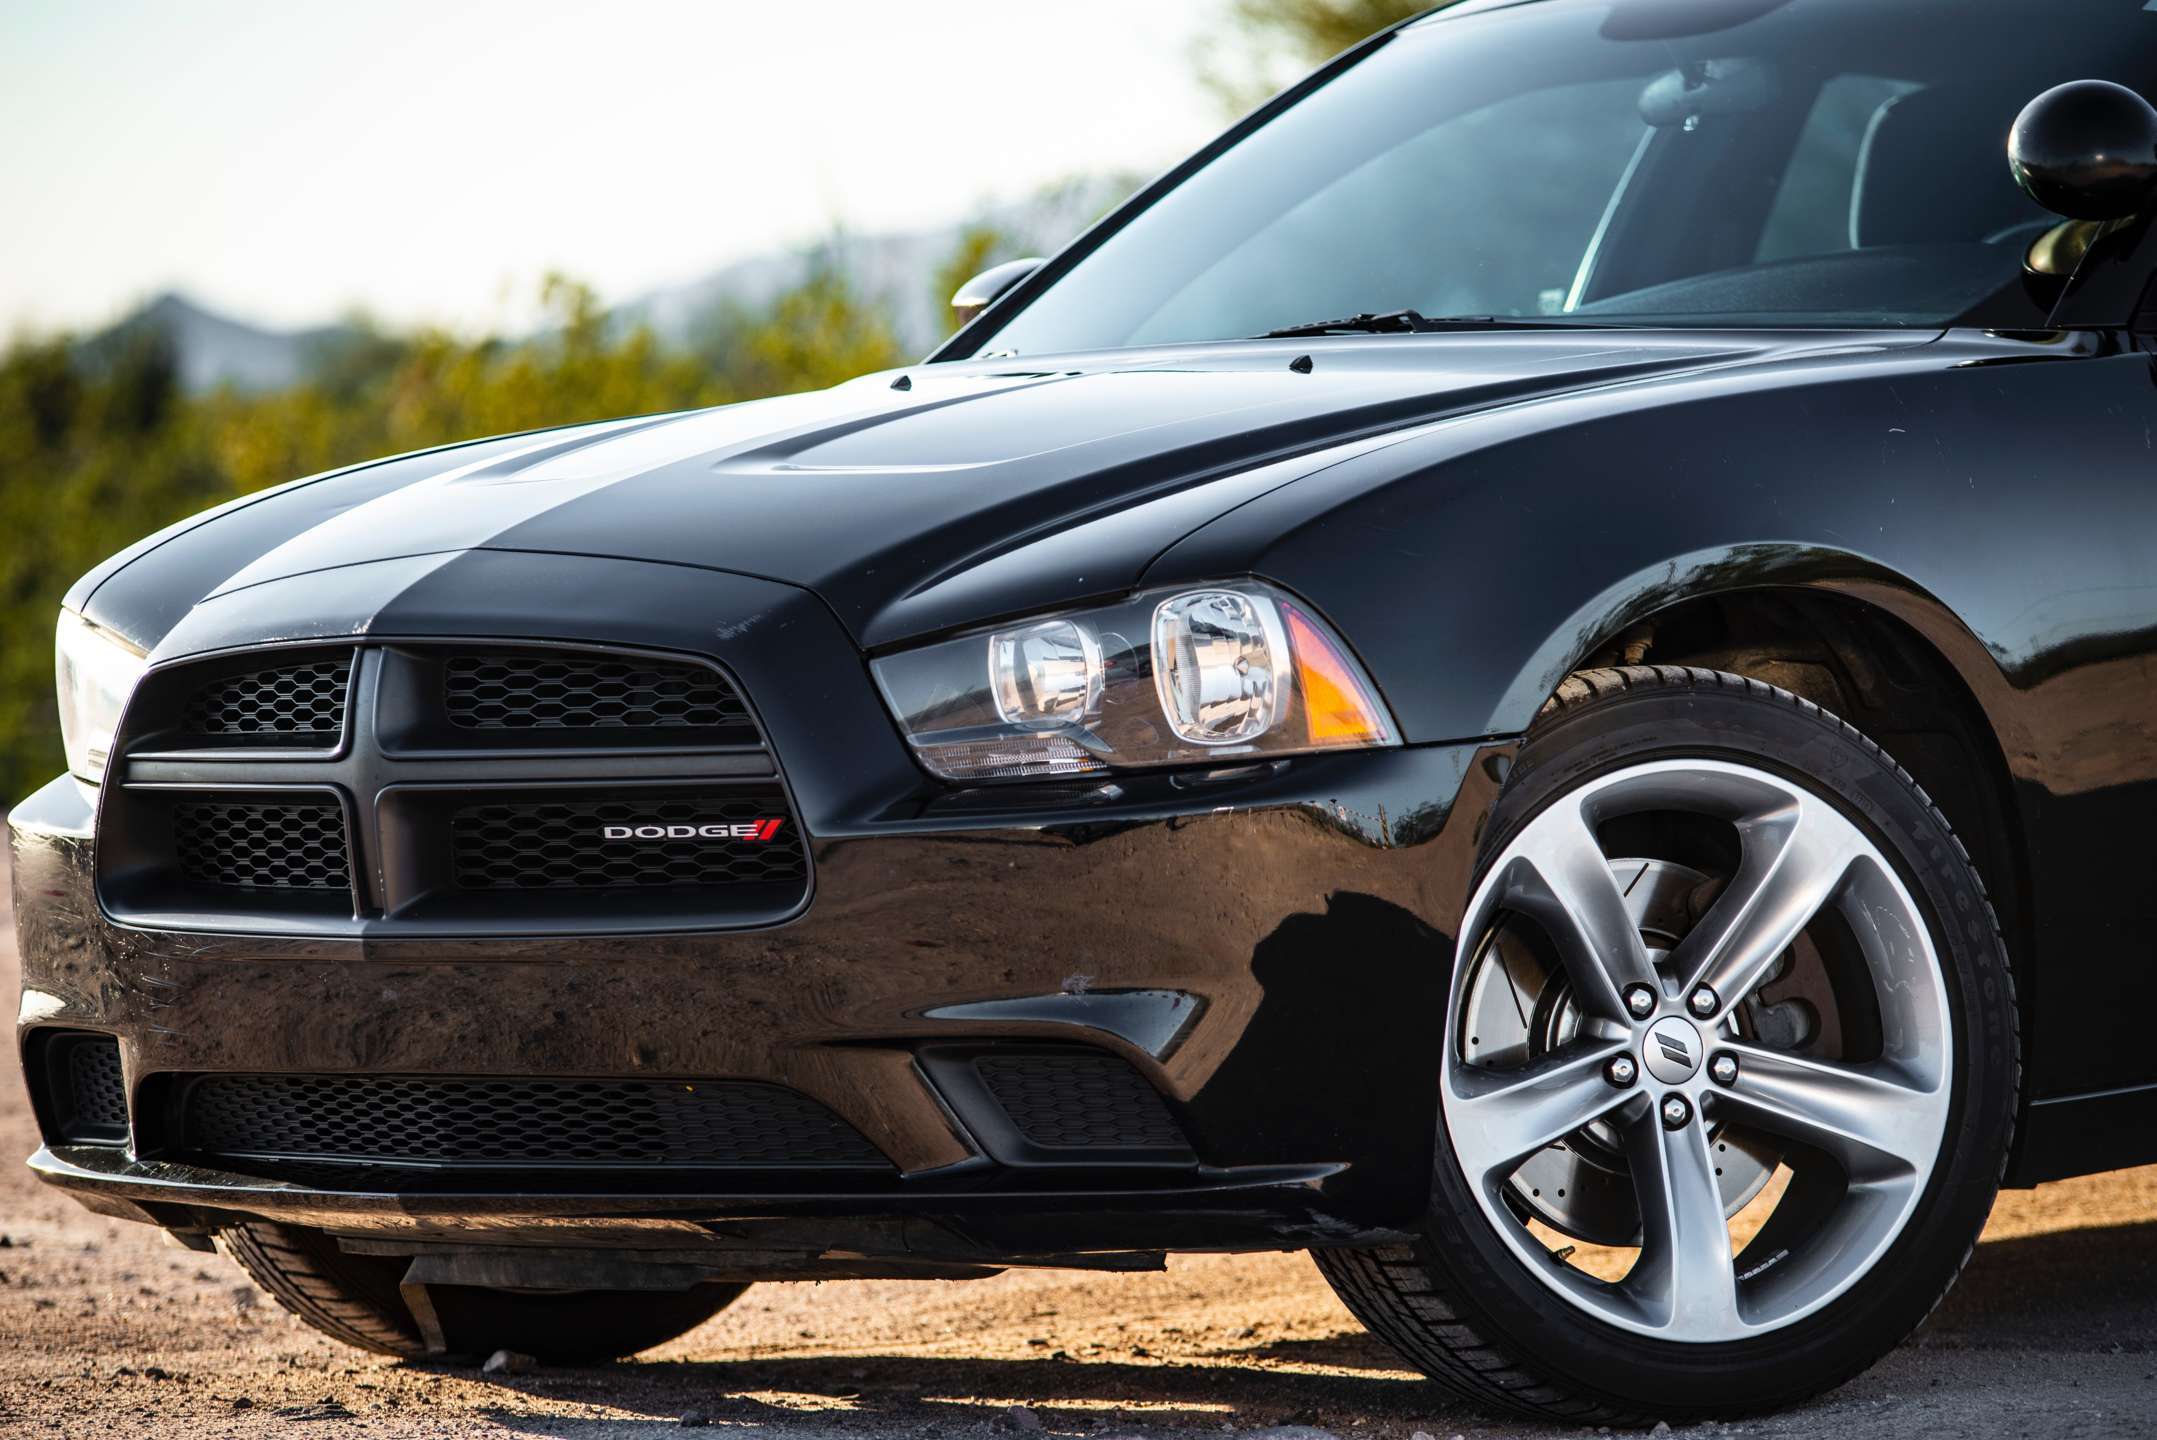
Your headlights’ Kryptonite? Oxidation, which is what weakens their superpowers and makes them vulnerable to evil. To put it more poetically, oxidation turns your beams from luminous to gloomy. It doesn’t matter how sweet your ride is; no car headlights are immune from its ravages.
Why oxidation happens: your headlights are most likely made of polycarbonate plastic. This chemical combo is strong and does its job, and has a long history of being dependable. Meanwhile, manufacturers usually coat the lenses with UV protection as a sunscreen. However, the sun will eventually win out, as it always does, melting away that protective coating with its UV rays. That’s when your headlights start to oxidize. You’ll notice a yellowish, dingy haze, and it’s not a good look.
Unbuffed, oxidized headlights are not just about being unsightly. They also bring on other, more serious concerns:
- Impairing your night-driving vision
- Lowering your car’s value
- Shortening the life of your vehicle.
Think of it this way: foggy headlights won’t help you on a foggy night.
There is a way to fight back — by performing periodical maintenance with regular cleaning and buffing. The ultimate goal is to keep your headlights consistently looking clear, clean and sharp, but it’s not a one-time dance.
First, you need to know all of the tell-tell signs of headlights in need of some immediate love:
- A dull, waxy or yellowing appearance
- Abrasions and scratches
- Peeling and cracks
- A sick coating of grime
- Exposed soft polycarbonate, which occurs when the lens’ hard, protective coat has worn off. The result may be a crusted, yellow surface.
Head’s up on newer headlights: if you buy a new ride every three or four years, you will more than likely not encounter these more serious problems. However, if you love your car and are holding on to it for as long as you can — four years or more (and we salute you) — that’s when you may have to consider some deeper headlight cleaning maintenance.
No matter what the age of your car, in order to get your beams back to brilliant, make cleaning them a regular habit.
Add this timeline to your car-cleaning schedule:
- Clean your headlights every time you clean your windshield
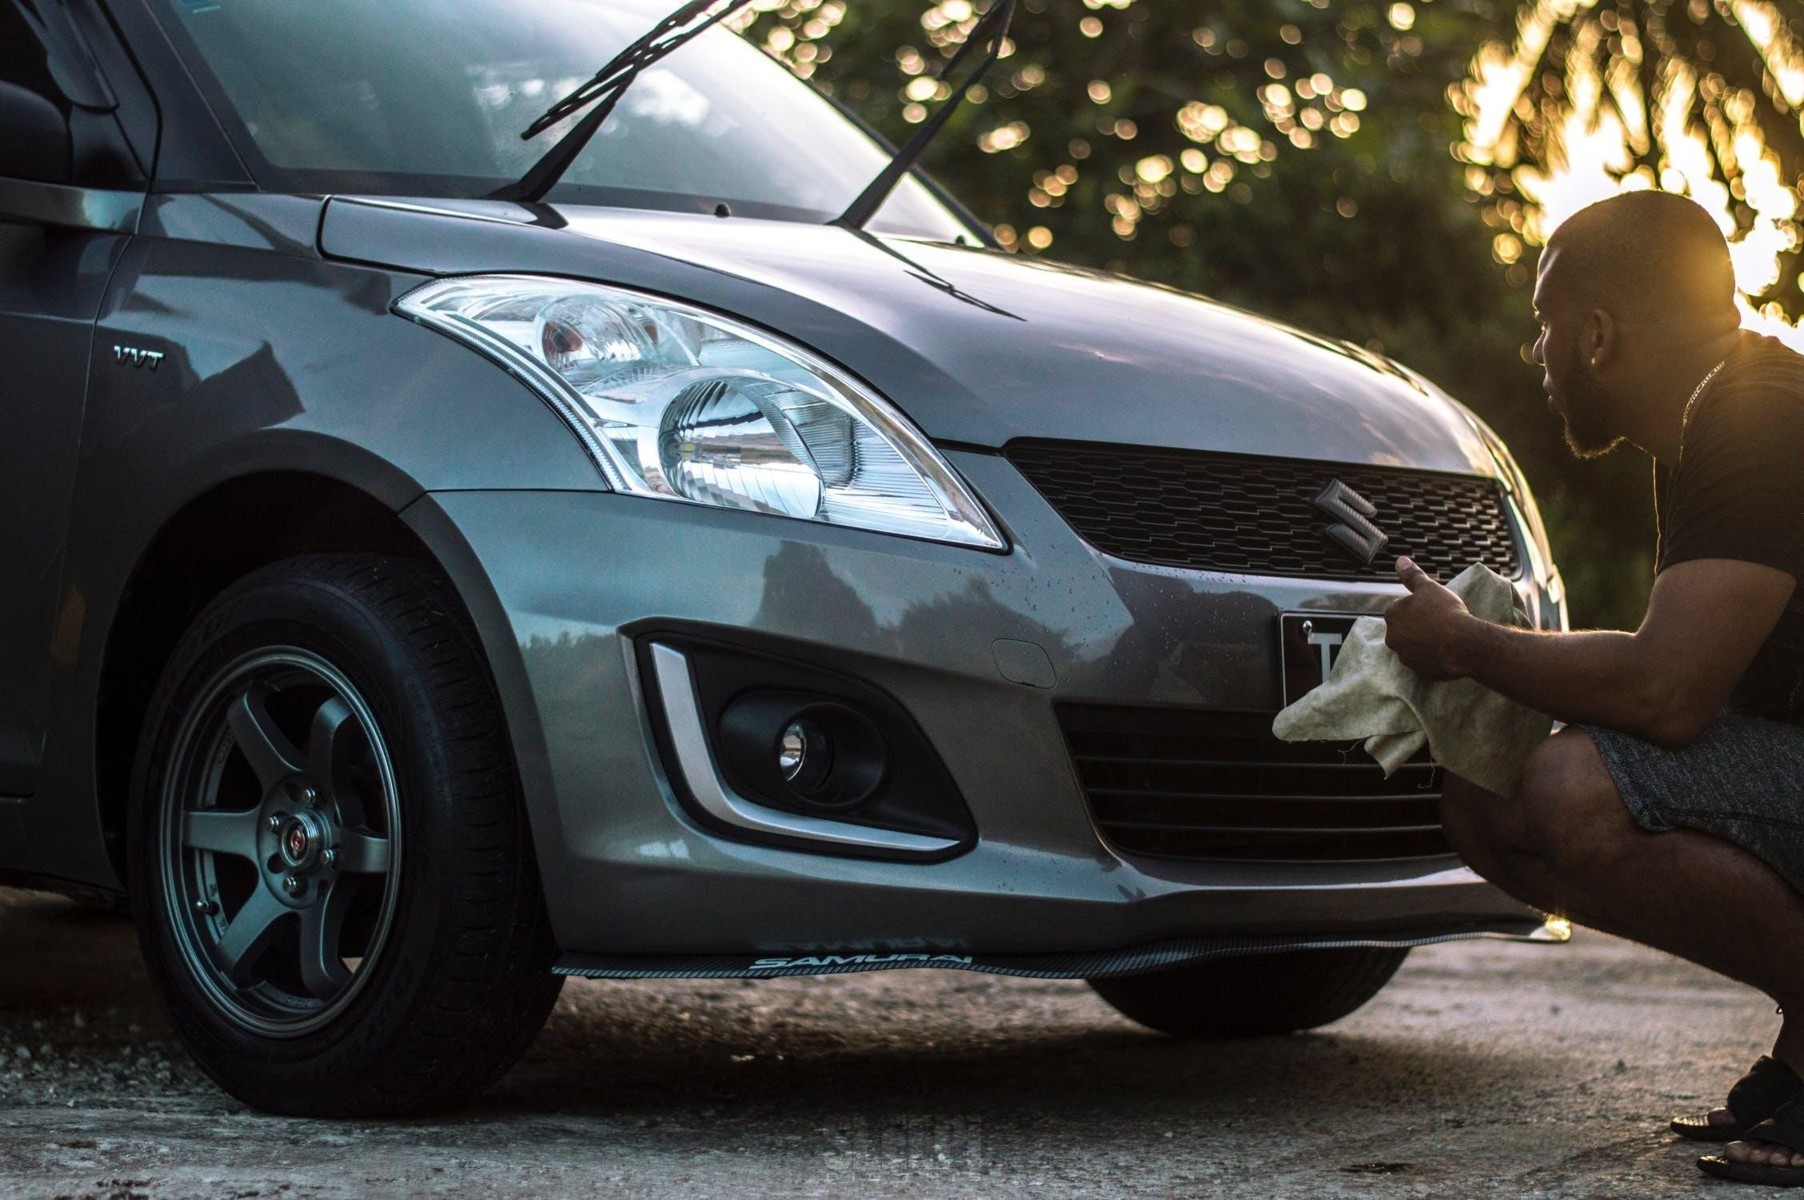
If you are the type of proud car owner who cleans your windshield every time you fill ‘er up, you’re already on to how many times you should clean your headlights. Give those headlights a good rub with a sponge every time you clean your windshield (simple soap and water will do), and you’ll keep them free of dirt and grime that normally collect there.
- Clean your headlights every time you go to the car wash.
Even the best car washes are not often set up to give special attention to headlights. Remember to include their cleaning with each car wash visit, even if you have to do it yourself. All it takes is some Windex and paper towels.
That takes care of the regular washing. Now comes the deeper effort: buffing, which we recommend every three to six months.
Three steps are involved in buffing headlights: taping, sanding and then adding compound. Here’s how you’ll roll:
First, tape off the headlights
It’s all about protecting the paint. Sanding can get rigorous, which can touch upon that beautiful paint job. Make sure you’re using painter’s tape and place it securely around the edge of each headlight.
Before you buff: sand
Have on hand automotive sandpaper (1000 grit) and a simple spray bottle of water.
- Spray the headlight with water first.
- Sand the headlight in a circular motion for about one minute. Or sand vertically for one minute, wash off, and then sand horizontally for another minute.
- Spray more water on the headlight and wipe it clean with a microfiber cloth.
Add compound
There are two types of compound to consider, based on their degree of grittiness:
- Rubbing compound — the most commonly used compound for this kind of work. Good at buffing and hiding scratches.
- Polishing compound — (considered milder, gentler)
Add the compound you choose to a microfiber cloth and work it on the headlight, rubbing in a circular motion. Do this for several minutes.
Once you finish polishing
- Take a clean microfiber and give one last buff to the headlight. Then clean any excess compound off the paint.
- Add back in a UV headlight protectant. Simply wet a paper towel and apply the sealant in long strokes. Just one layer should do it. Don’t skip this step. Your headlights need that UV protectant.
- Remove the tape around the headlight (gently!).
Bottom line: we recommend this procedure at least every three to six months.
However, no matter how often you buff your headlights, be sure to clean them regularly. Dirty or damaged headlights can only mean trouble down the road, reducing visibility and even possibly interfering with the oncoming traffic.
Clean, clear, sharp, brilliant lights, all the time. Now isn’t that better?
Find out more at Headlights Depot.


How many time can you sand and polish your headlights? Is it every time? Or sand once and maintain it with compound polish when it yellows a second, third and ect. Thank you for your time.